What’s up Geeks! I know it has been a while but I’m back with an update on the Privateer. I hadn’t realized it has been almost a year and I haven’t posted an update. A lot has been done and lets get on to an update!
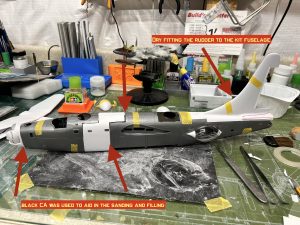
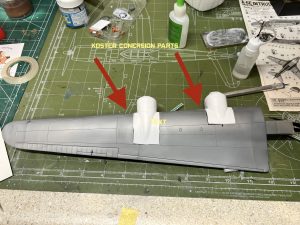
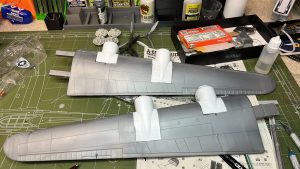
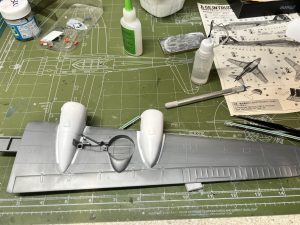
After I had made all the cuts to both the Koster and kit parts, it was time to test fit everything together. I was pleasantly surprised to find that the cuts were straight and lined up and fit the Monogram plastic pretty well! (thanks Don!). Once I had the left fuselage half done I just repeated the same cuts on the right side. After I had done the fuselage mods, I went on to the wings. I wanted to save the Koster instructions so I made copies of the template, cut them out and placed them on the wings and marked where I had to cut the wings. i made the cuts to the engine nacelles and test fitted the Koster vac form conversion parts. When I cut the kit nacelles away from the Monogram wing, the wing was very flexible and weak. So, once I got the conversion parts tacked in place with super glue I added a brass rod that ran the length of the wings to provide some rigidity an d strength. Then I glued the wings together and prepared to move on the the cockpit.
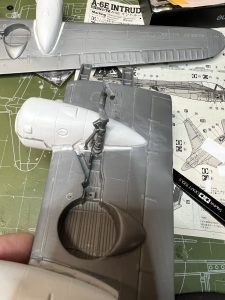
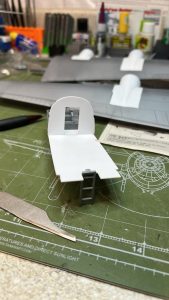
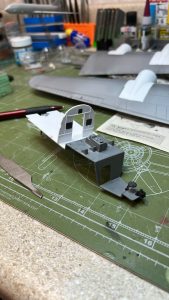
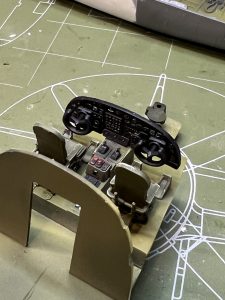
I built the cockpit following the kit instructions but I did add a bulkhead behind the cockpit to help provide some strength and to help close up the rear part of the cockpit. I did download some WW2 pinup posters to the rear bulkgead in. I did replace the kit seats with some seats from the Hobbyboss B-24 and added some seatbelts. The Privateer didn’t have shoulder harnesses so I just added the lapbelts and painted the seats. I did add some power levers with strip styrene and added some placards from the spares box to dress up the cockpit some more.
Subscribe here for updates from the Model Geeks Podcast: