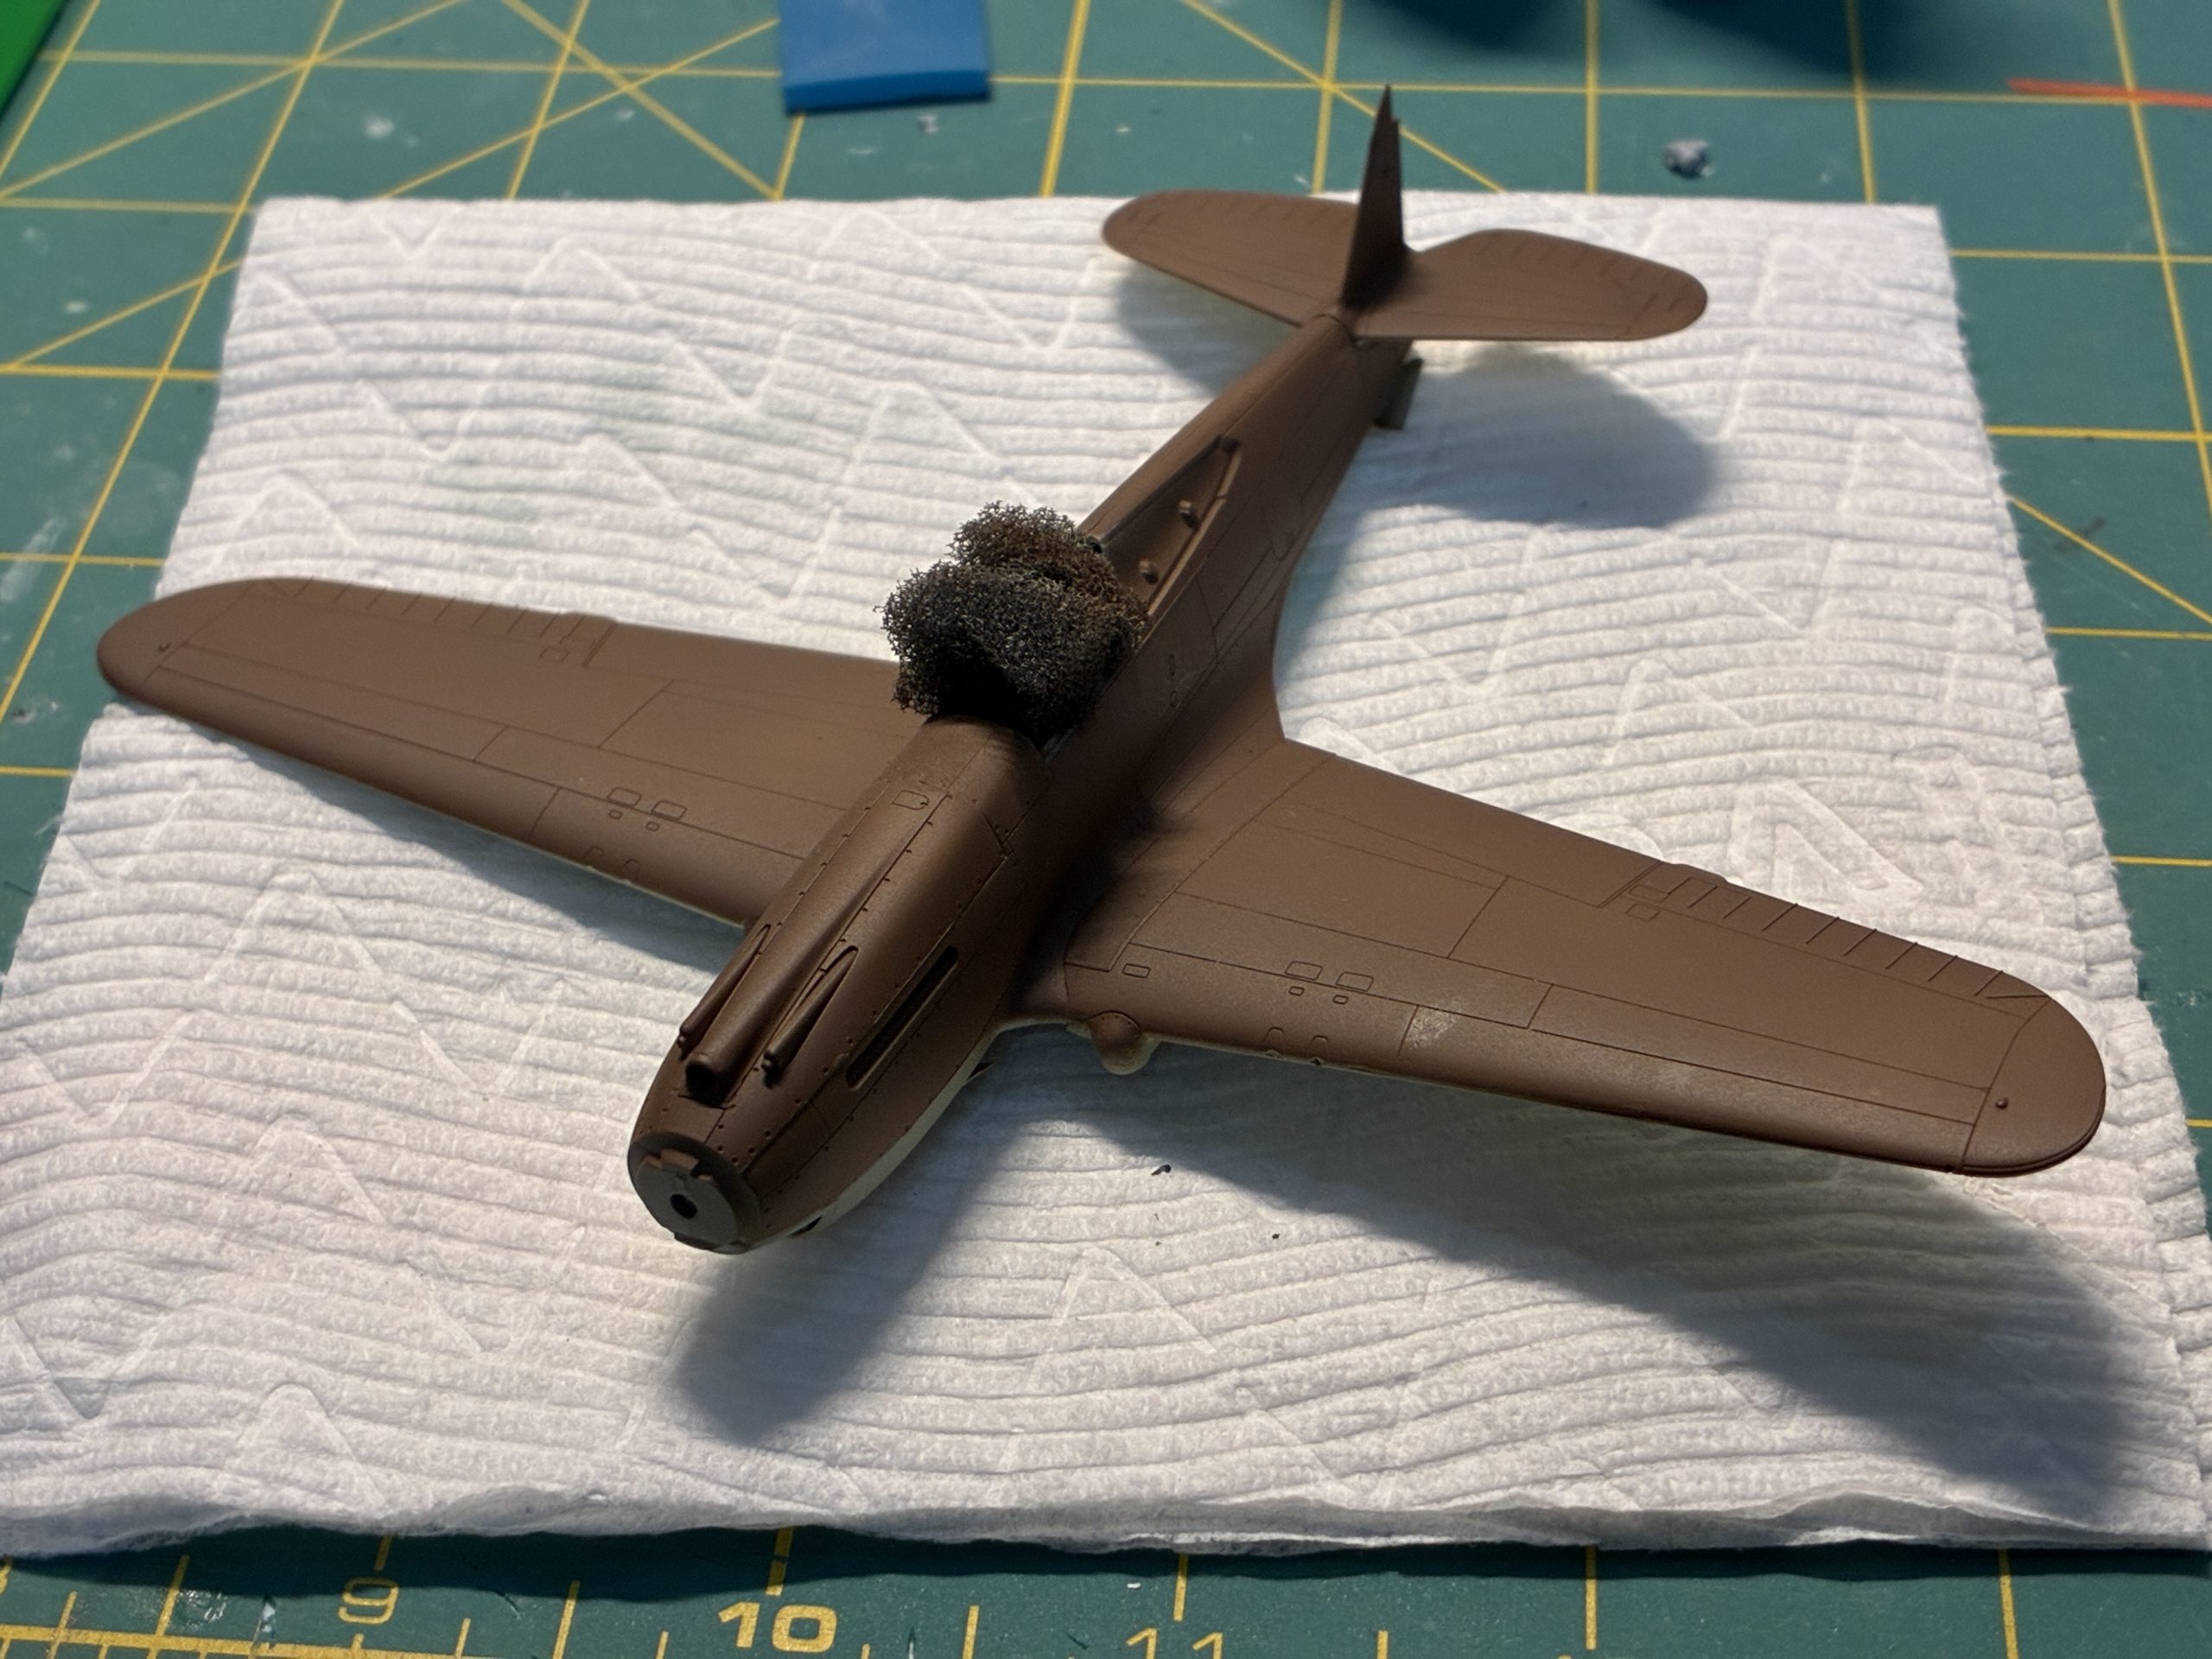
Listeners know that I received a pre-production sample of Arma Hobby’s newest kit from Wojciech Bulhak at US Nationals, the Curtiss Hawk 81-A2 in 1/72 scale. This is a review build, so I’m following the kit instructions. I’ve built the Hawk 81-A2 from Academy and Airfix and of course I’ll compare this build to those at the end.
Initial impressions
- The plastic is a bit softer than their other kits. This may be due to the kit being pre-production. Frankly I don’t see an issue with it, just it’s different.
- The parts count is less. I see this as positive. My desire in 1/72 is a kit with the correct shapes and just enough detail to matter when looking between 1-3 feet distance. This kit meets that desire.
- Future sub-variants. I like doing collections and I thought my Hawk 81 collection was complete with 7 models. I can see an RAF Tomahawk IIA/B boxing with 3 marking options (Temperate, Day Fighter, Desert), a USAAC/USAAF P-40B/C/G boxing with 3 marking options (Natural Metal, Olive Drab Pearl Harbor, Olive Drab post Pearl Harbor), and one more boxing with 3 marking options (Soviet, Japanese captured, South African AF).
- Definitely going to be a quick build. Paint may take a bit more time…
Construction
I was through the first 5 steps my first afternoon at the bench. That’s the wing and cockpit painted and sealed with decals added. The next afternoon I had the wing mated to the fuselage and on the third afternoon the fin and horizontal tail was on. Wheels were glued and cleaned up and filler applied at the wing joins and landing gear knuckles on the fourth afternoon.
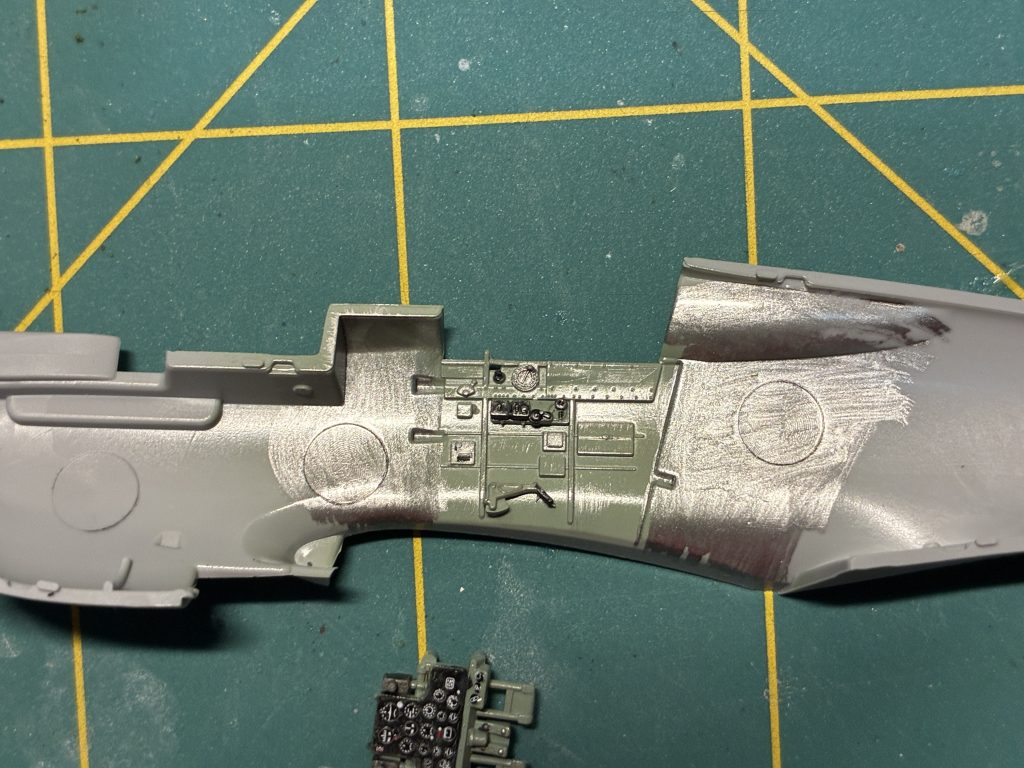
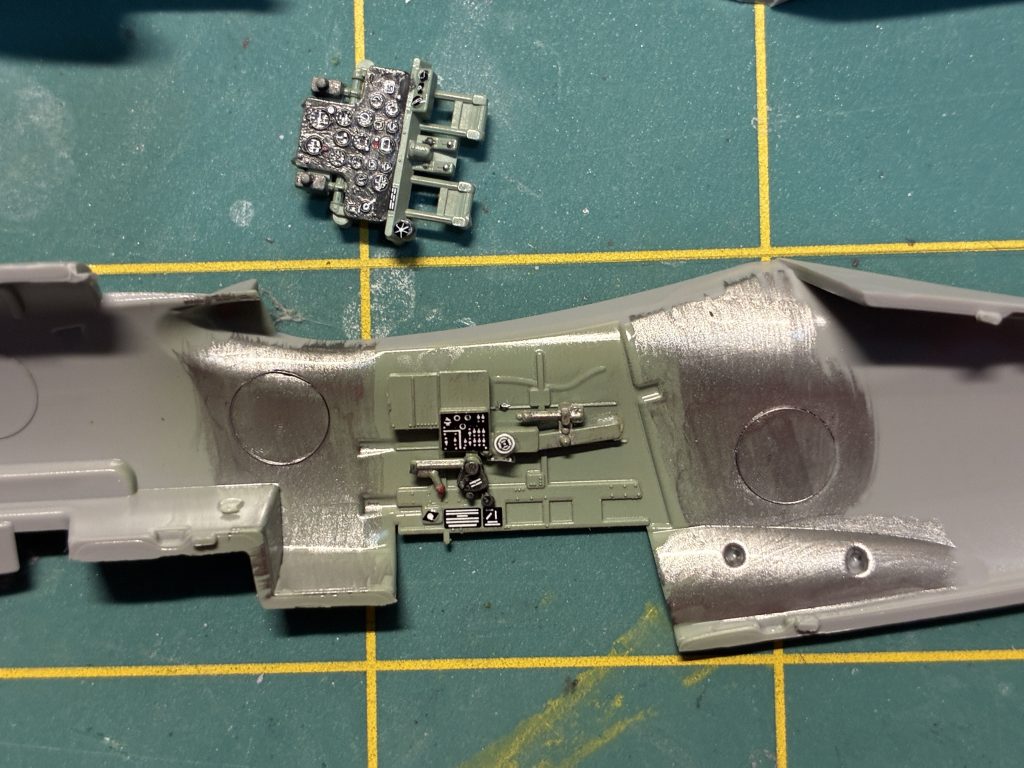
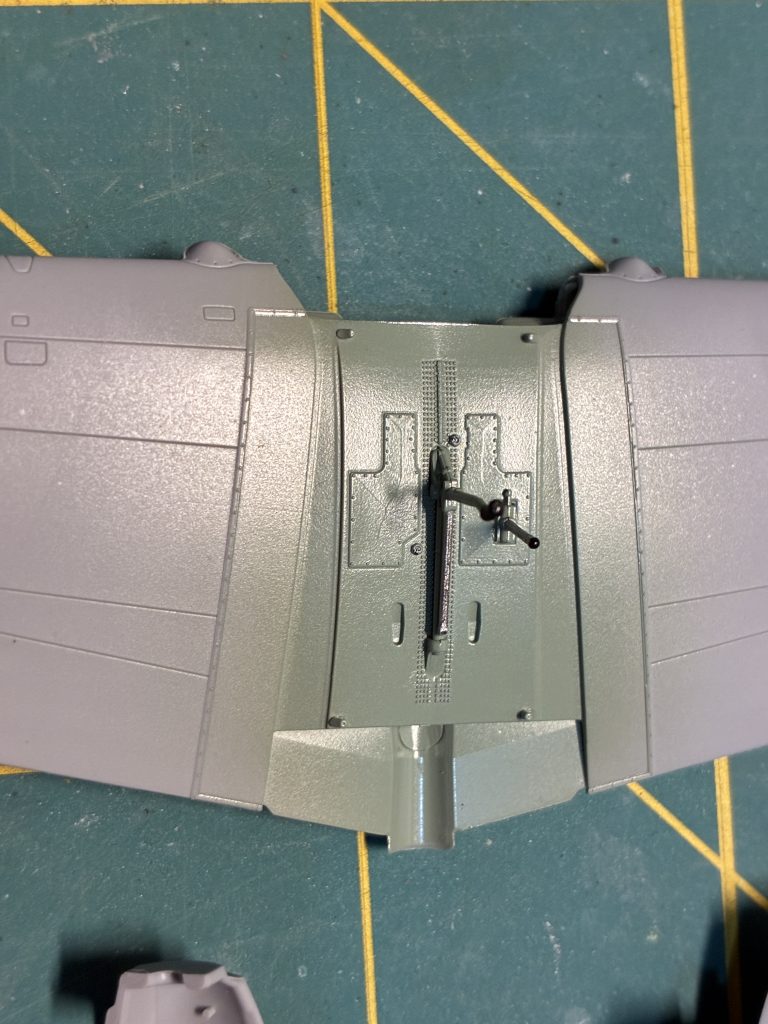
Filler — I used Tamiya white putty applied to the model, let dry for a few minutes (20 maybe) and then used thinner on a cotton bud to remove the excess so I would not need to sand away any details. Why does this kit need filler? The fit of the wing left a very slight gap between the root and the fuselage fillet.
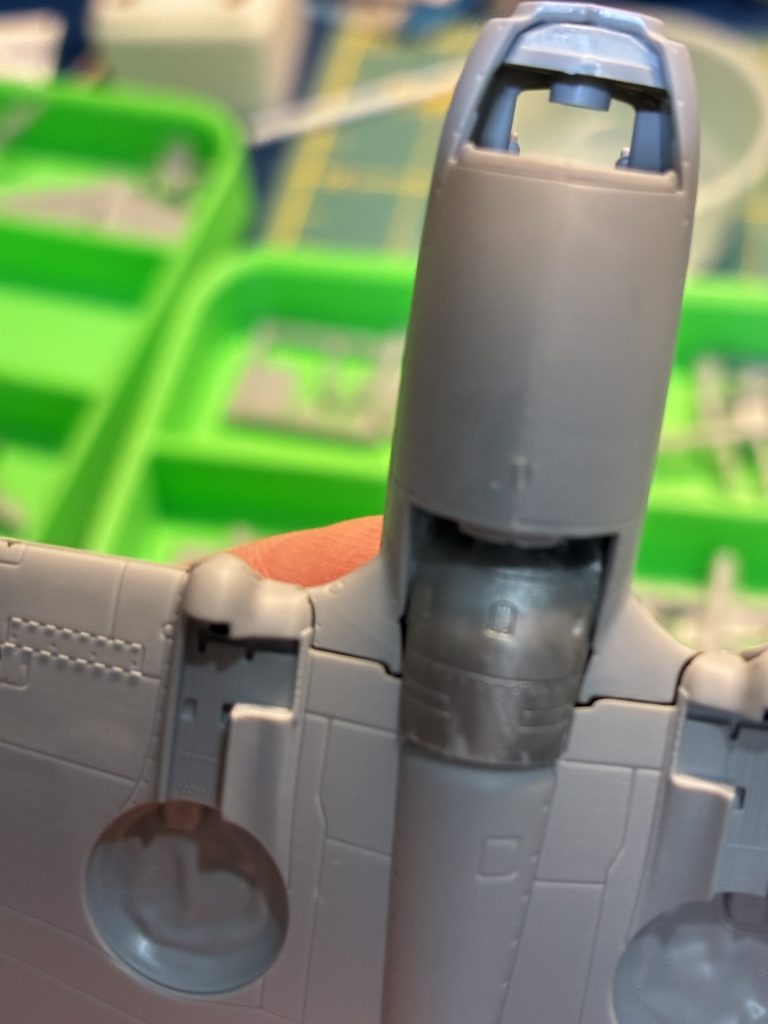
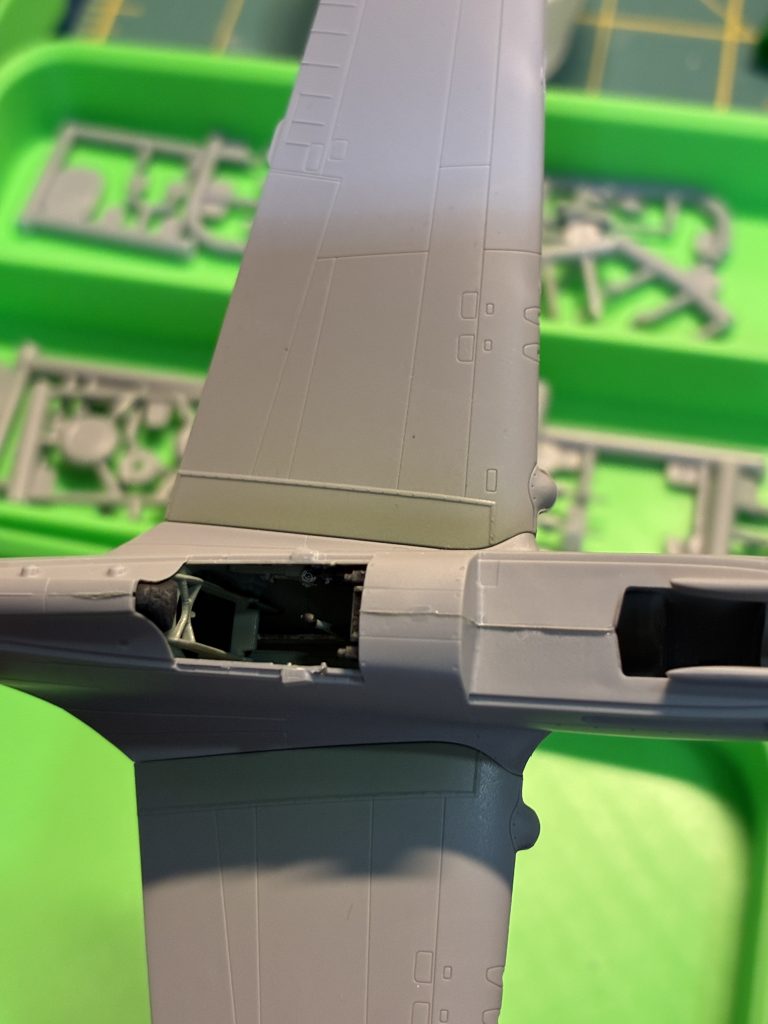
Additionally I had to remove some flash from the knuckles but that was easily done as part of the filler cleanup. I expect the final kit to possibly address the fit and flash, it could be the result of the low pressure injection for the pre-production sample.
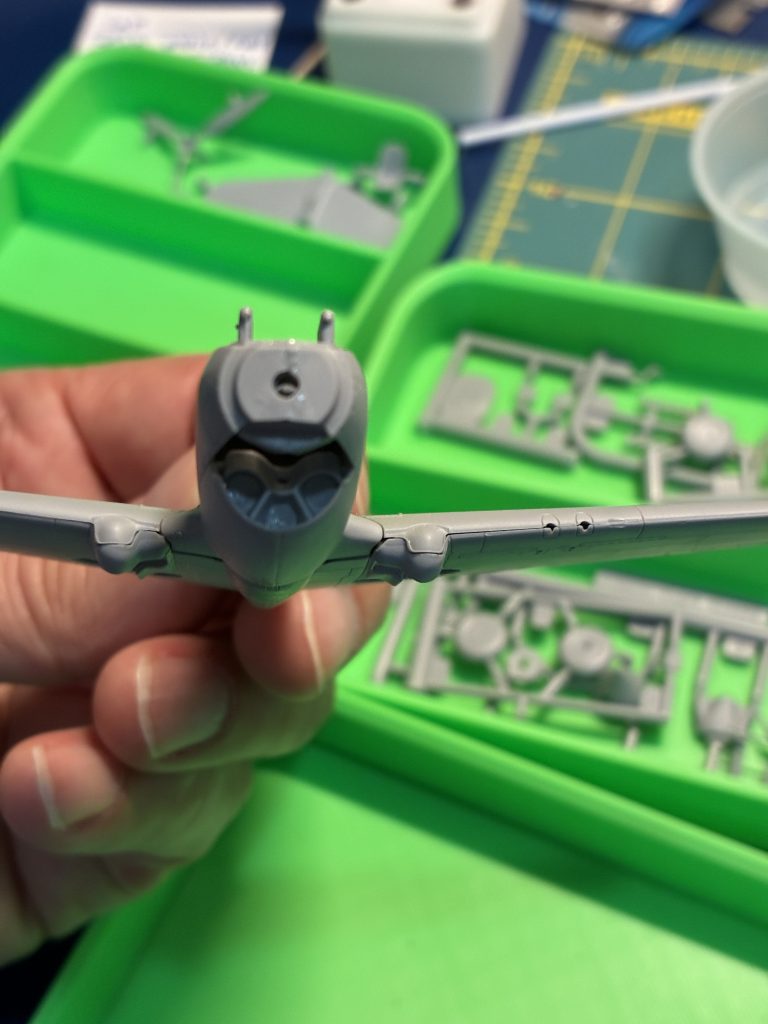
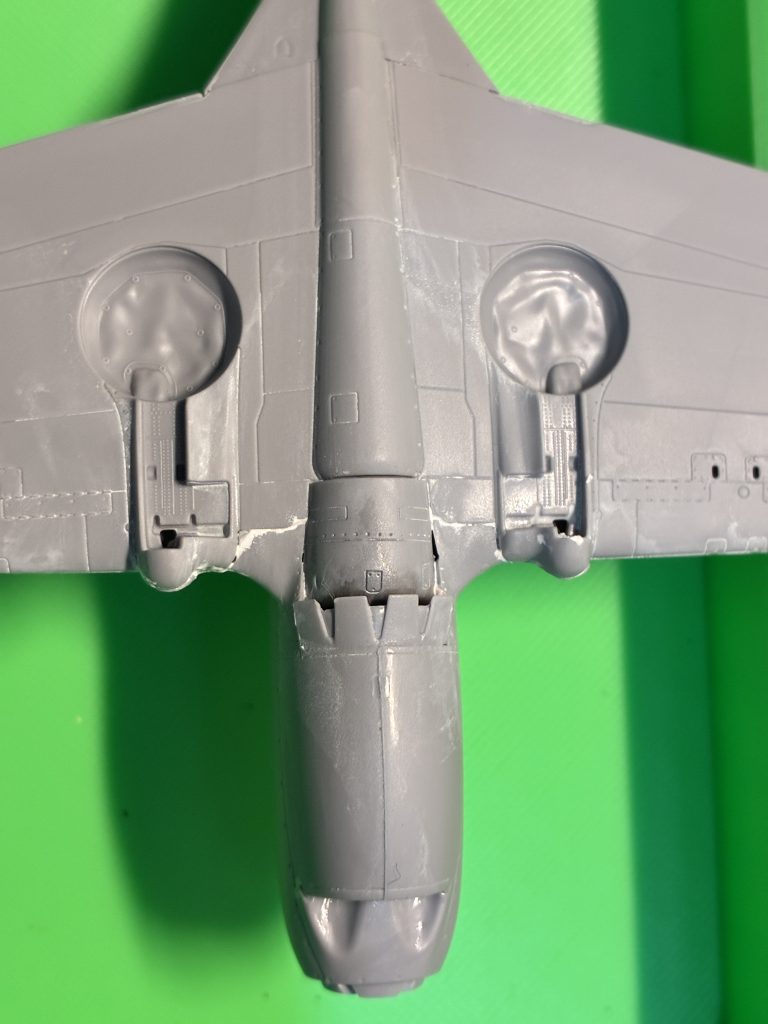
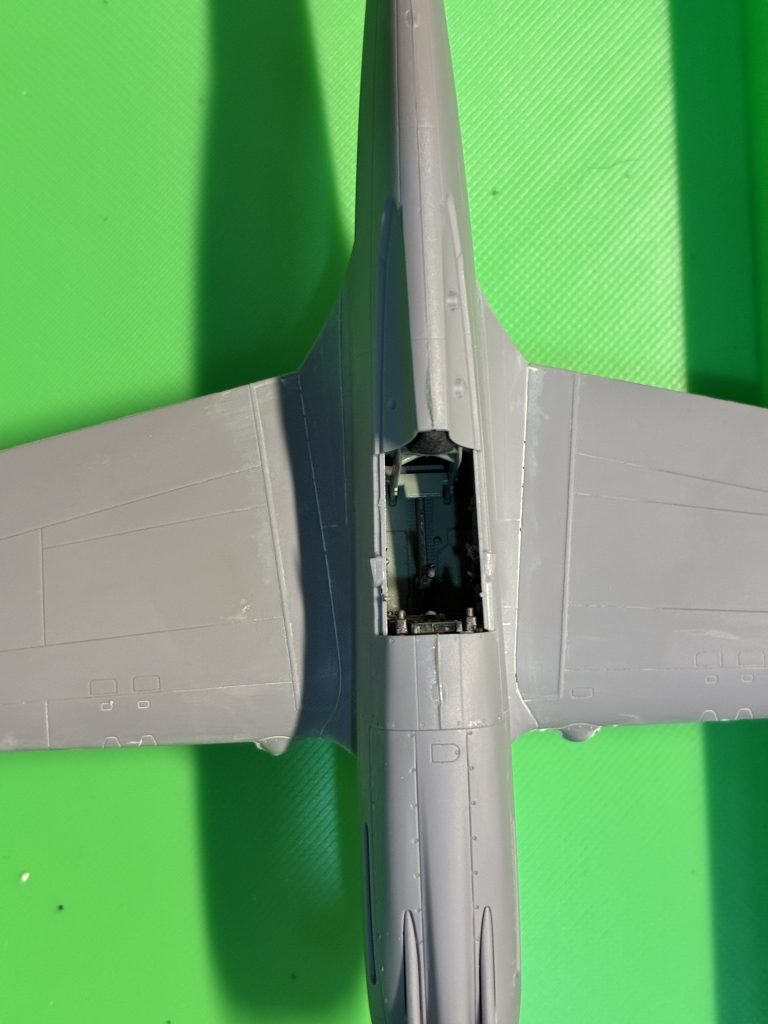
After allowing the filler to fully cure and applying a little cleanup filler in some places I spent an afternoon reviewing my references for DuPont paints vs RAF colors. These aircraft were originally purchased by the UK and the Ministry of Aircraft Production approved a set of DuPont paints developed in the US for aircraft produced in the US for RAF use.
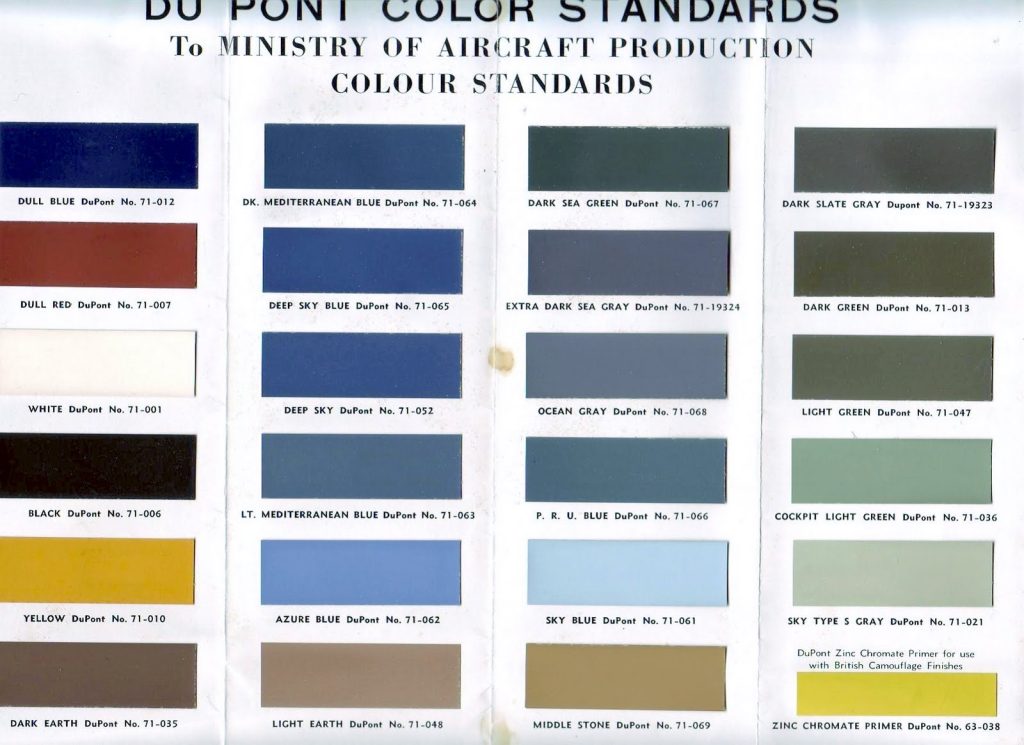
DuPont 71-021 Sky Type S Gray is very close to the MAP standard for Sky. I have a jar of Tamiya Sky I mixed/modified years ago with another I mixed to a specific formula for MAP Sky from Britmodeller.com. My earlier mix was almost identical to the card above so that’s what I used. The Britmodeller mix was ever so slightly darker and greener.
DuPont 71-035 Dark Earth is browner and slightly less green than MAP Dark Earth. My Tamiya mix for Dark Earth matches 71-035 but not MAP Dark Earth so I used that.
DuPont 71-013 Dark Green looks like a slightly lighter version of MAP Dark Green. I’ll add a drop or two of yellow to my Tamiya XF81 before I spray it.
Colors picked I applied the Sky on the sixth afternoon and on the seventh I masked some of the lower surfaces and shot the Dark Earth.
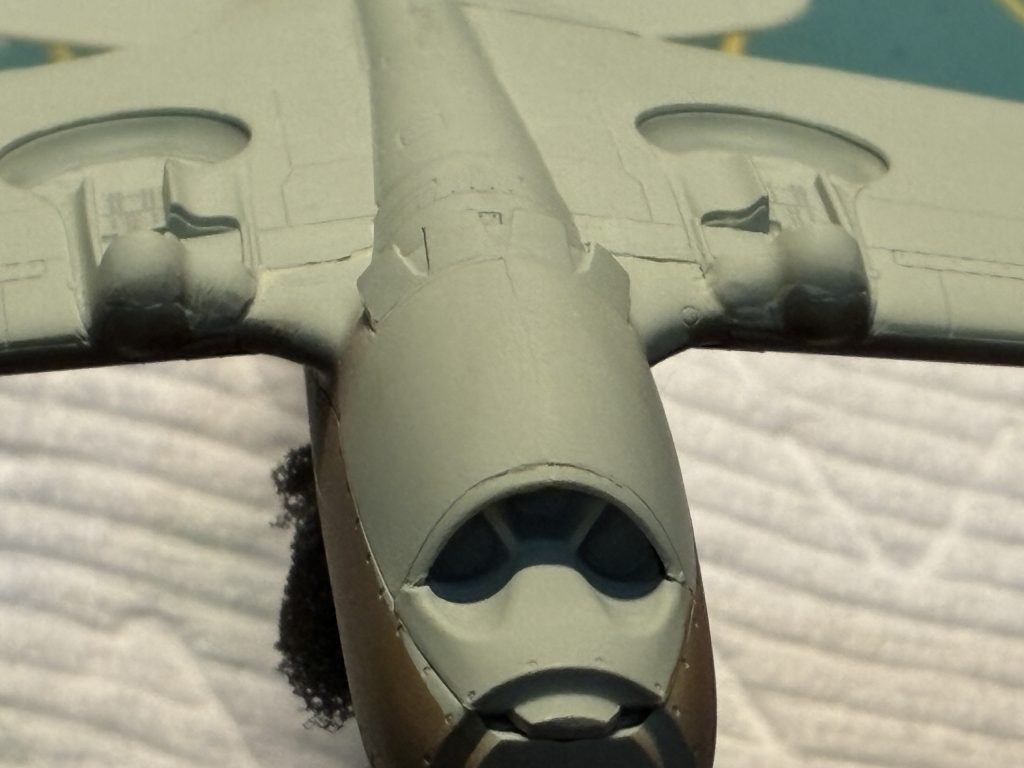
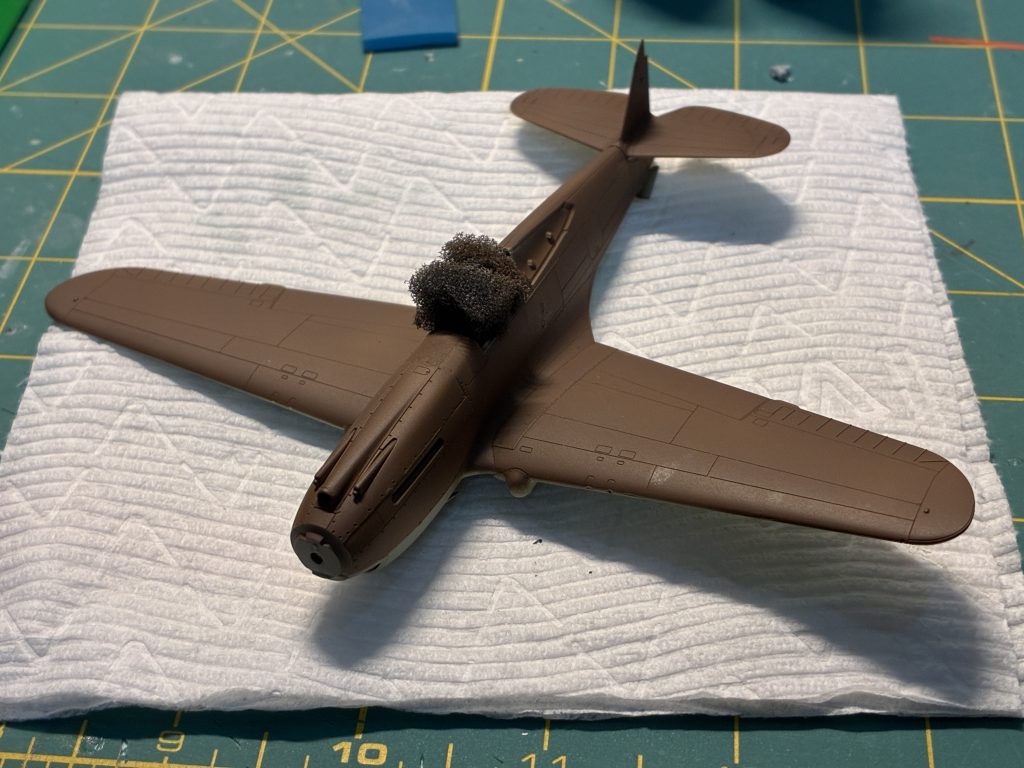
That’s where I currently stand. Painting the Dark Green and then applying decals will take a bit more time as I edit Episode 131.
Conclusions after construction? I like this kit. I like it very much and look forward to more.
Tim
Subscribe here for updates from the Model Geeks Podcast:
Leave a Reply